Here is the fabrication of my tranny plate as well as the installation! I got photo happy so there is a TON of images I took!
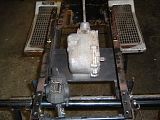
First was to turn the tranny upside down.
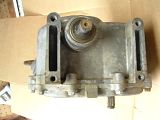
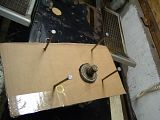
Then I took a piece of cardboard and placed it on the bottom of the tranny to make an indentation of the input shaft in the cardboard.
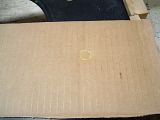
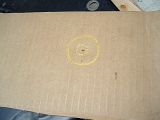
I then used a marker to show where the indentation is and from the center of it made a circle for the diameter needed for clearance for the tranny’s input shaft. It was then cut out with a razor blade.
I then placed the cardboard over the input shaft.
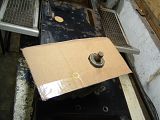
Then I pushed 4 nails into and thru the cardboard so they went into the four mounting locations on the tranny. This gave me a template of the bottom of the tranny.
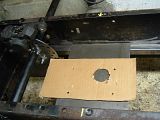
Now with the template I placed it on my 12†x 8†.250 thick steel plate and used a marker to transfer all the locations that need to be drilled out.
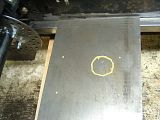
Here is the plate with me making sure holes will be drilled square to the plate.
Here are the four mouting holes drilled out.

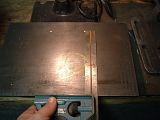
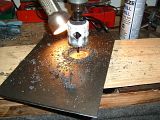
Here goes the big hole!!!
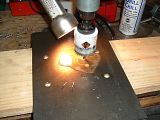
5 minutes and a lot of oil later....
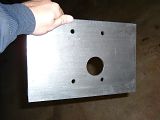
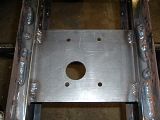
all cleaned and deburred!
Here is the plate placed on the tranny. YES! the holes line up!!!

I now secured the plate to the tranny by using studs, washers, and nuts.
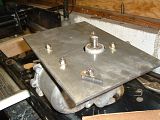
The plate and tranny assembly is now placed into the chassis and set to the pre marked location so the shifter is in a near stock position.
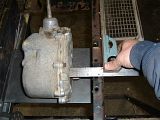
This is where I measured to make sure the tranny was square to the chassis
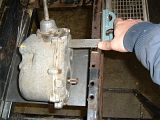
Here I tack welded plate into location
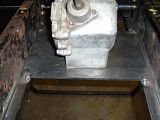
Here is the bottom getting welded into place after I removed the tranny.
I still need to finish weld the plate in, just wanted to give it plenty of COOL DOWN time!
Next will be the front axle!


